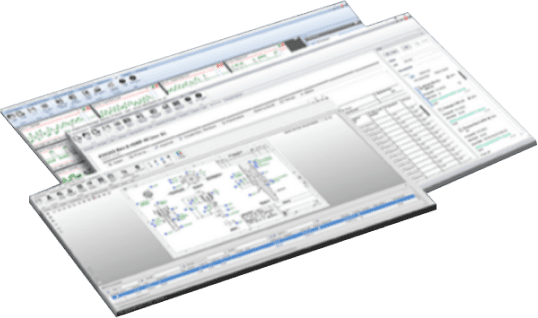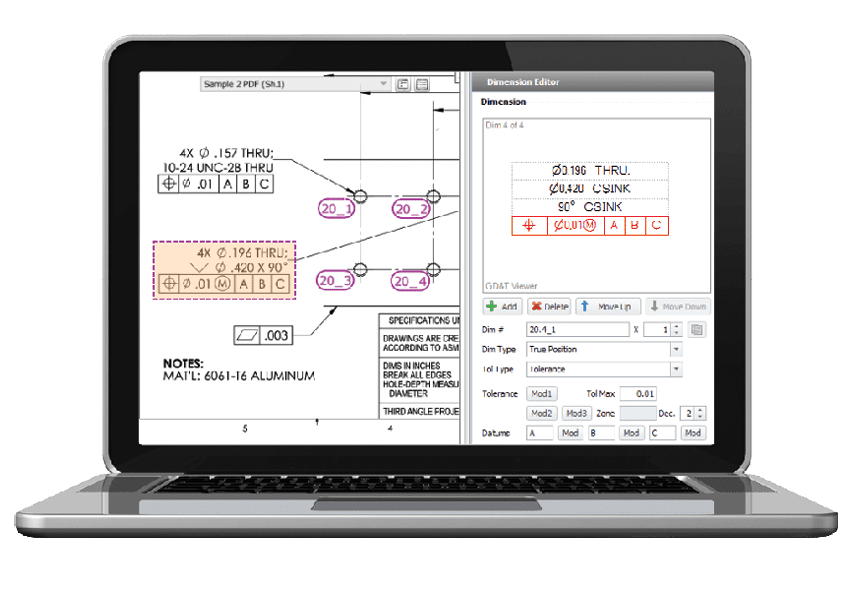
High QA software automatically recognizes critical geometric dimension and tolerancing (GD&T) specifications from 2D prints, eliminating manual entry and reducing opportunity for error.
Details of any medical device’s manufacturing processes must be completely traceable so manufacturers can monitor product quality, make timely updates, and quickly recall defective items. Traceability extends from the original equipment manufacturer (OEM) to suppliers of individual components.
Should defects occur, cradle-to-grave tracking makes it possible to pinpoint exactly where changes in product quality initiated.
Medical device manufacturers face U.S. Food and Drug Administration (FDA) inspections and regulatory mandates as well as ISO requirements and risk management pressures. Quality shortcomings in an artificial joint or pacemaker can have lifelong or life-ending consequences, so tracing an error or omission to a single process is critical. Recently, some medical implant recalls have been tracked to failures of individual electronic components or to process errors such as inadequate part cleaning.
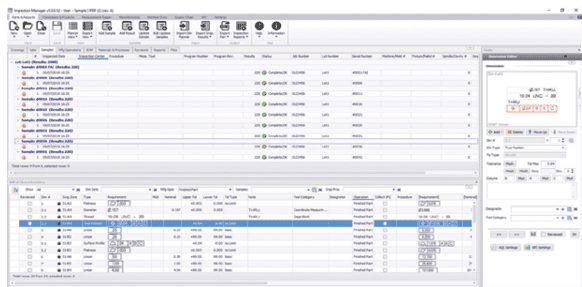
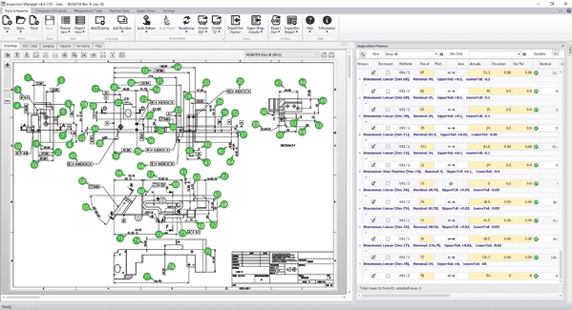
Software from High QA automatically extracts manufacturing and inspection requirements from a 2D drawing or PDF file, creating a ballooned inspection drawing and complete bill of dimensional characteristics stored in a single database.
The right data
Manufacturers can collect information almost instantly at multiple steps in a process, however such advances can generate massive amounts of data, and knowing exactly which are useful is a challenge. For OEMs, the key is determining which data are critical, translating them into useful information, and sharing appropriate information with suppliers.
Traditionally, supplier manufacturing engineers and quality assurance personnel decided which dimensions to inspect, how frequently to make inspections, and how to tabulate results. However, suppliers’ decisions don’t always match customer priorities.
An OEM can avoid data collection and reporting inconsistencies by presenting suppliers with a consistent set of standards, requiring the same information for inspection and reporting. Information should include drawings with part dimensions and establish a standard identification system for inspecting the characteristics of a part and recording the results. Manufacturers can achieve standardized identification of part requirements by annotating drawings with numbered callouts or balloons that point out individual part features. Balloon numbers correspond with numbers on a dimensional data form that lists dimensions, tolerances, and other requirements. Every supplier producing a certain part can use the same drawing balloon information to make the part, inspect it, and report results. Multiple suppliers can make the same part, delivering manufacturing and inspection data to the OEM in an identical format.
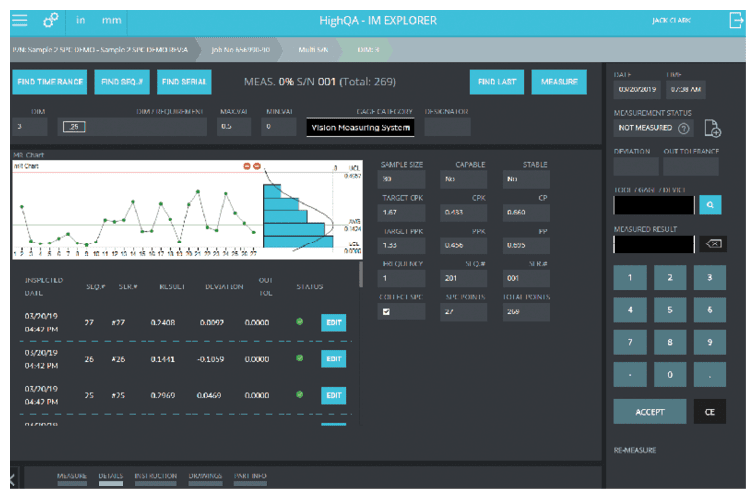
High QA’s inspection technology enables users to develop, control, and deploy inspection plans, related documents, requirements, and measurement instructions throughout an organization, providing an infrastructure to standardize and structure inspection data across an entire supply chain.
Quality information
Automatically extracting geometric dimension and tolerancing (GD&T) information from the source part drawing eliminates interpretation and laborious manual tasks. Scanning the 2D drawing or PDF once for each part, via automatic ballooning and other quality requirements, assures dimensions are defined and numbered the same way on all suppliers’ drawings. A single source for dimensional information makes inspection results easily identifiable and able to be compiled for trend analysis showing dimensions in relation to specifications.
The OEM’s inspection plan can include instructions about inspection frequency – pointing out which part dimensions require 100% inspection and those that need less frequent inspection. Inspection information includes standardized serial numbers that are stored and recalled from a central database and can be searched and recovered quickly. Standardizing part feature identification and inspection plans can also help generate easily comparable supplier quotes.
Quality information management software gets all medical device manufacturing process contributors on the same page for part dimensions, tolerances, and data reporting – maximizing process efficiency. An automated, integrated approach to data management practically eliminates data-based errors and provides consistent product quality that protects the ultimate customer: the patient for whom the medical device can be a life-preserving resource.


